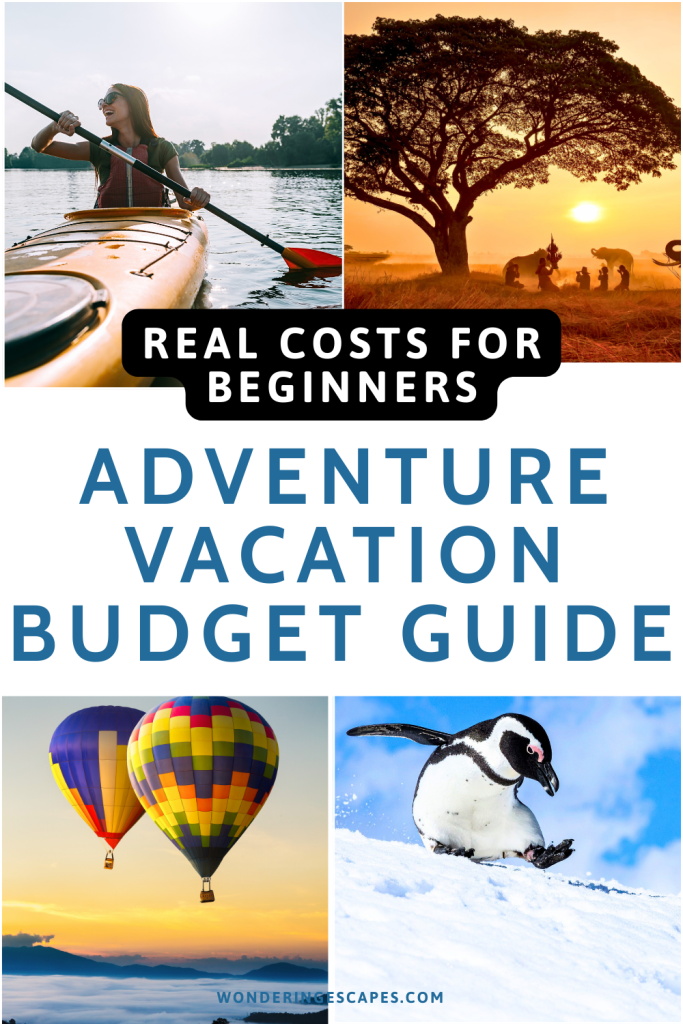
First Darecation? How to Plan an Adventure Vacation (Step-by-Step Guide)
How to plan an adventure vacation? (Understanding Your “Darecation”)
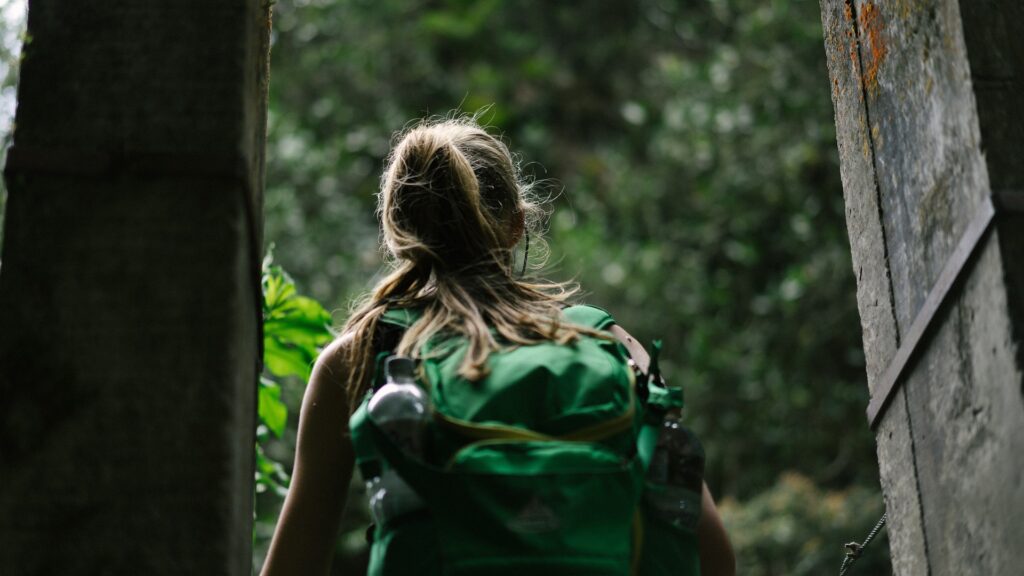
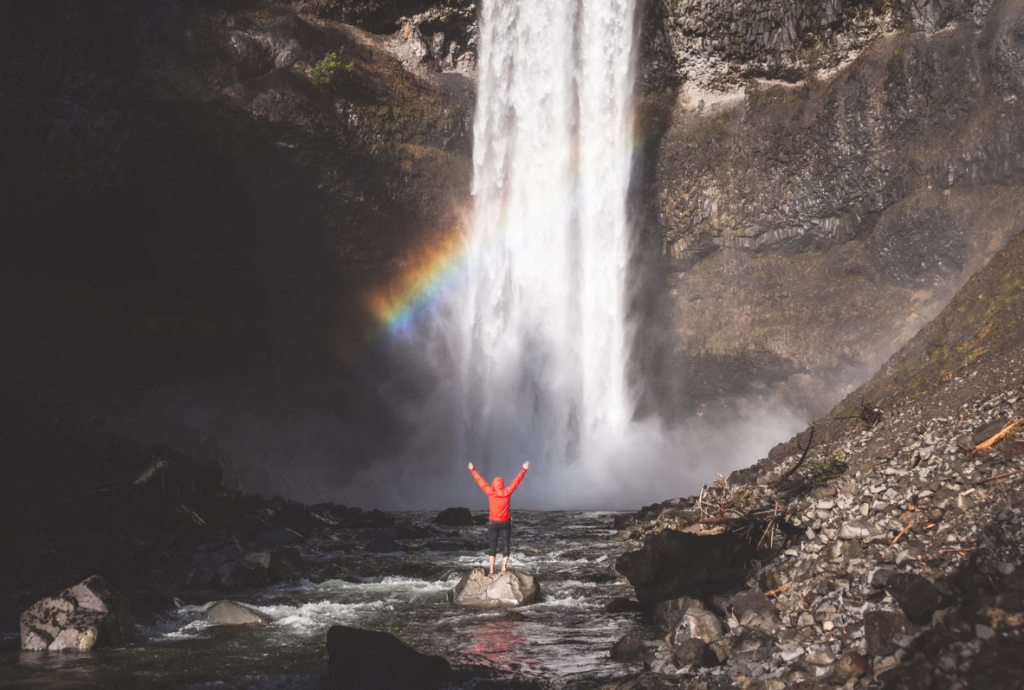
A “darecation” isn’t your typical beach resort getaway—it’s a vacation that pushes you outside your comfort zone while immersing you in nature, culture, or physical challenges. Unlike traditional tourism where you’re a passive observer, adventure travel makes you an active participant in your experience. Continue reading to know how to plan an adventure vacation.
You may also like this:


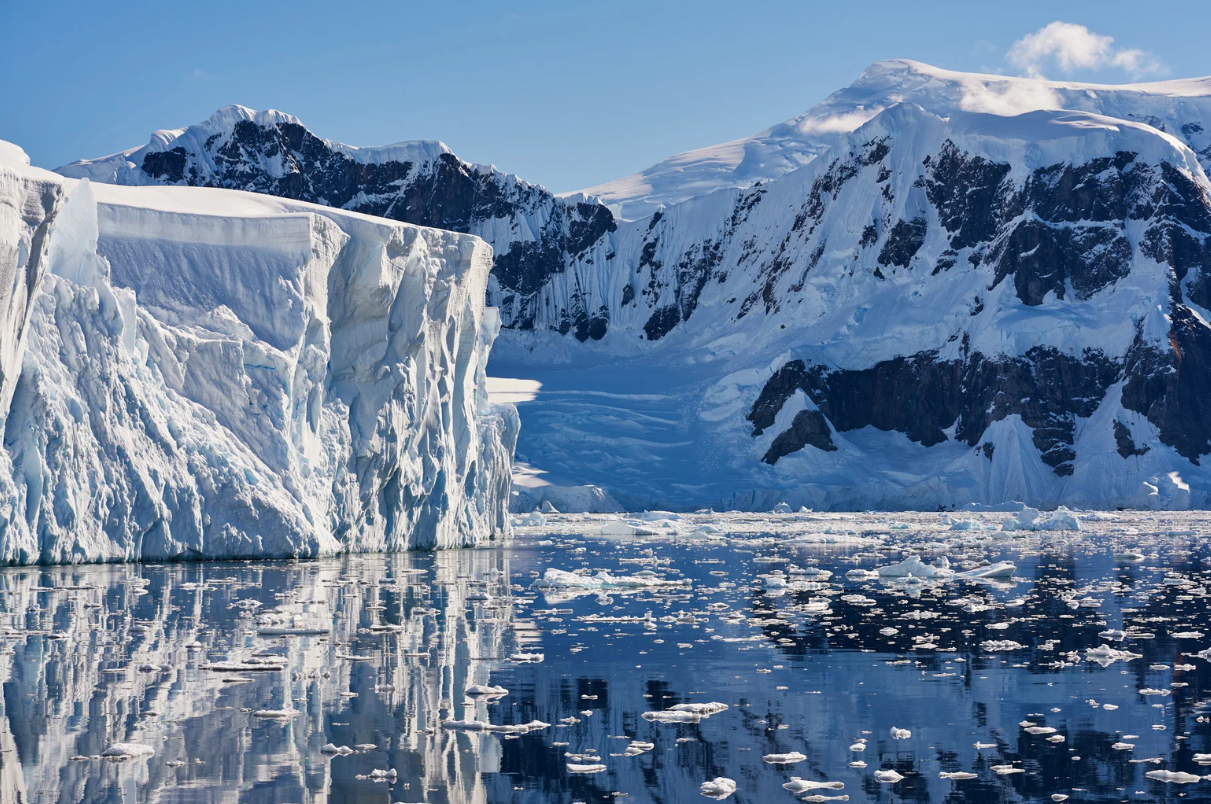
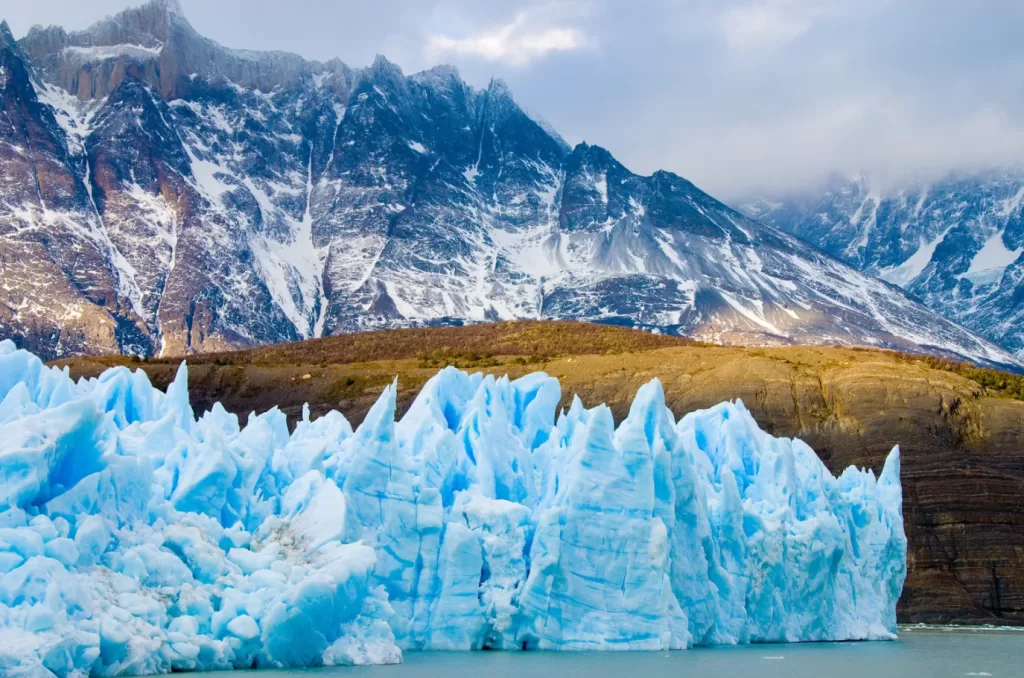
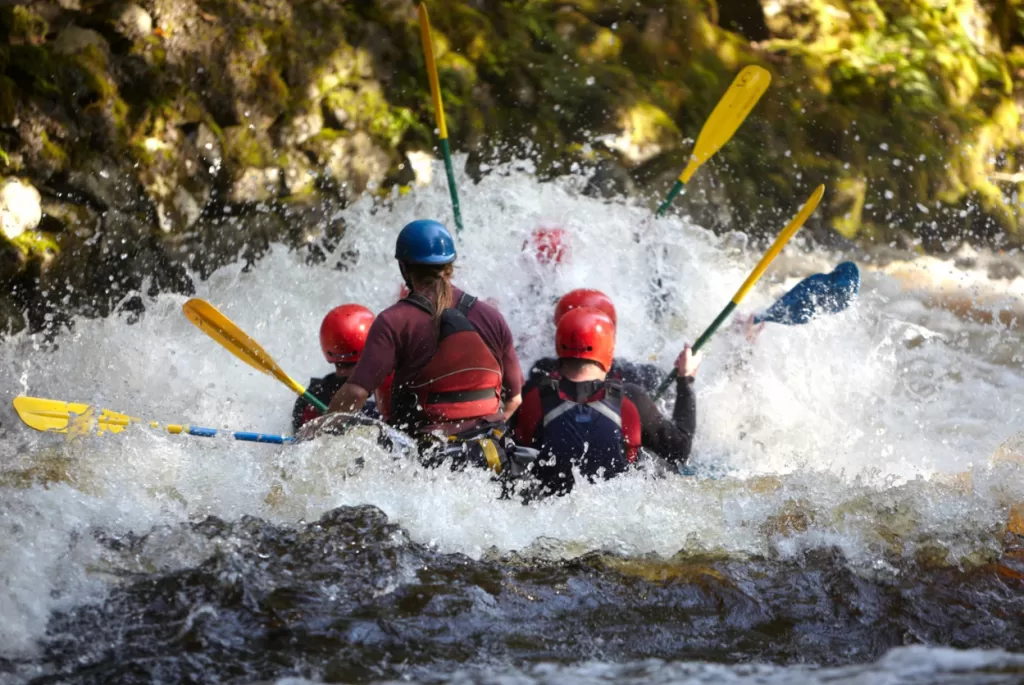
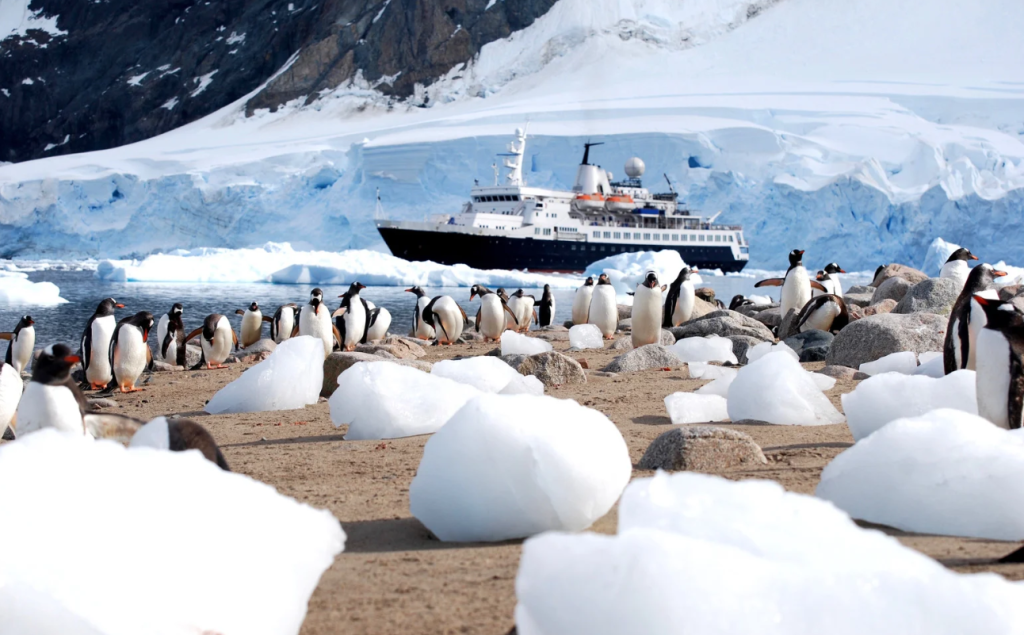
Adventure vacations span a massive spectrum. On the gentler end, you might find yourself kayaking through calm bays, hiking well-marked trails, or snorkeling in shallow reefs. The extreme end includes multi-day mountain expeditions, whitewater rafting class IV rapids, or ice climbing glaciers.
The beauty of adventure travel is that you define what “adventure” means. For someone who’s never left their hometown, a solo trip to a national park is legitimately adventurous. For an experienced outdoors person, it might mean summiting a 20,000-foot peak.
What all adventure vacations share is intentionality. You’re traveling with a purpose—to challenge yourself, learn new skills, connect with nature, or prove something to yourself. The adrenaline rush is optional; the personal growth isn’t.
According to the Adventure Travel Trade Association, 65% of adventure travelers are first-timers seeking “soft adventure” experiences—activities that provide excitement without requiring elite fitness or technical skills. This guide is designed exactly for you: the curious beginner who wants to dip their toes into adventure travel without diving off a cliff (literally or figuratively).
Whether you’re drawn to hiking Patagonia, surfing in Costa Rica, or wildlife safaris in Tanzania, the planning process follows the same fundamental steps. Let’s break down exactly how to transform your darecation dream into a concrete, achievable plan.


Step 1: Choose Your Adventure Level (Matching Ambition with Reality)
Before you start Googling “most extreme adventures,” take an honest inventory of where you’re starting from. Your first adventure vacation should stretch you, not break you.
Assess your baseline honestly:
- How often do you currently exercise? (Be truthful—your safety depends on it)
- What’s your experience with outdoor activities?
- Do you have any physical limitations or health concerns?
- How do you handle discomfort, uncertainty, or fear?
The Three Adventure Tiers:
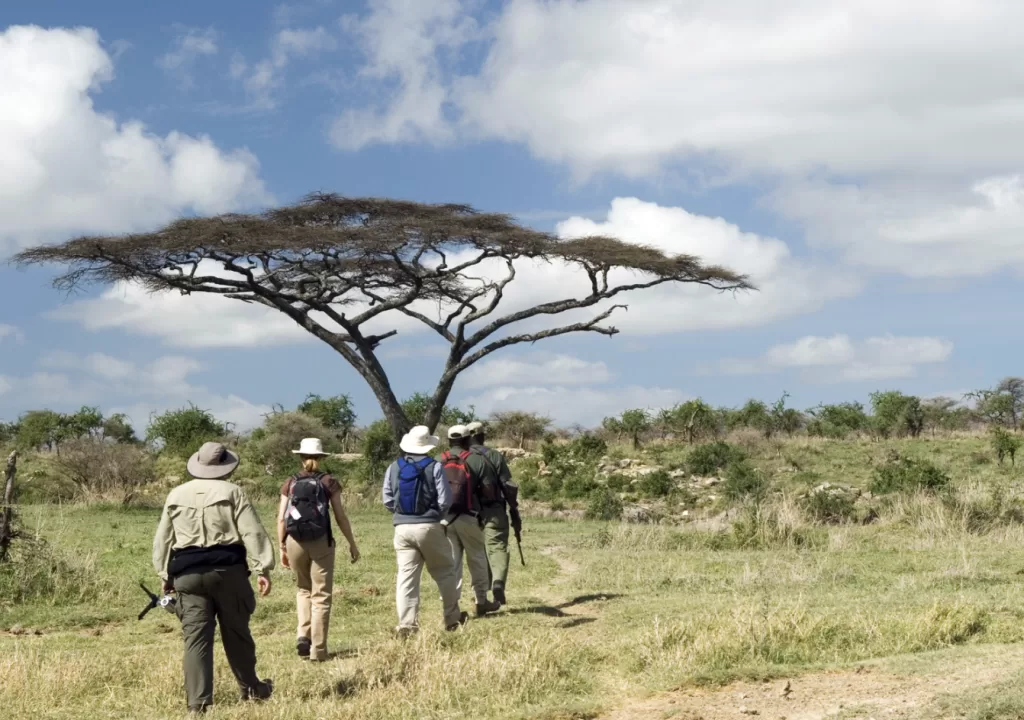
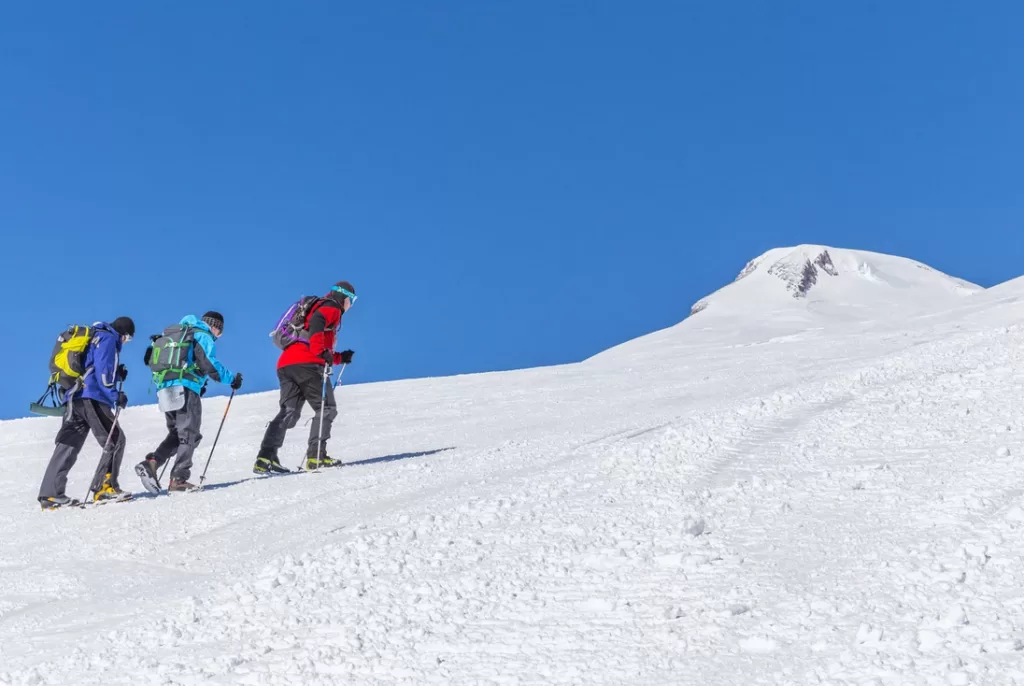
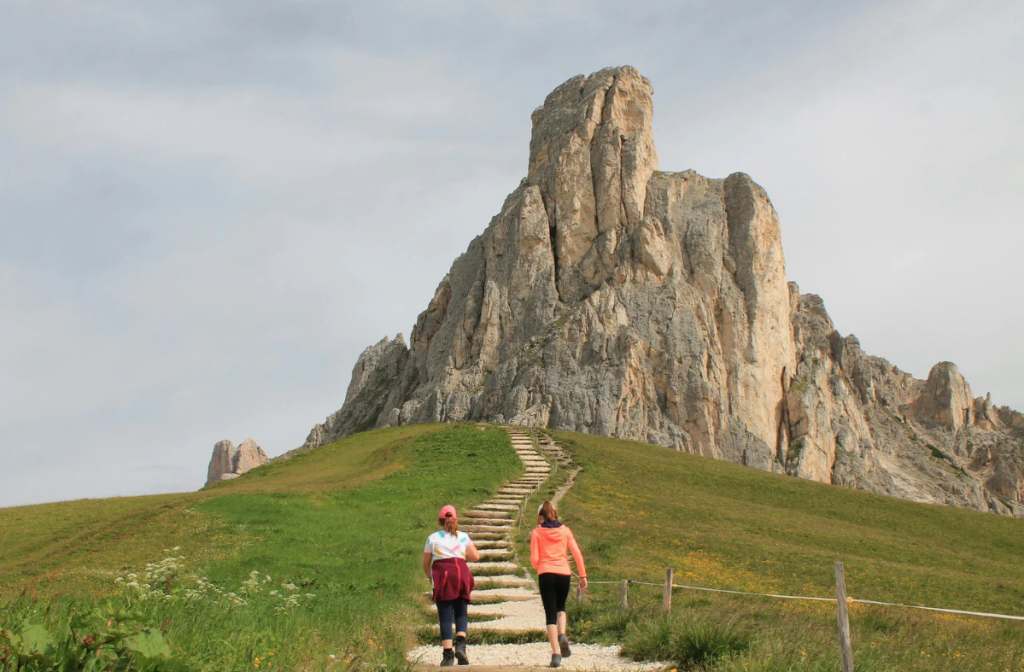
Soft Adventure (Perfect for first-timers): Guided day hikes, beginner snorkeling, cultural walking tours, scenic kayaking, wildlife watching, cycling on established paths. These require basic fitness—if you can climb three flights of stairs without gasping, you’re probably ready. Risk level is minimal, support is readily available, and you’ll sleep in comfortable accommodations.
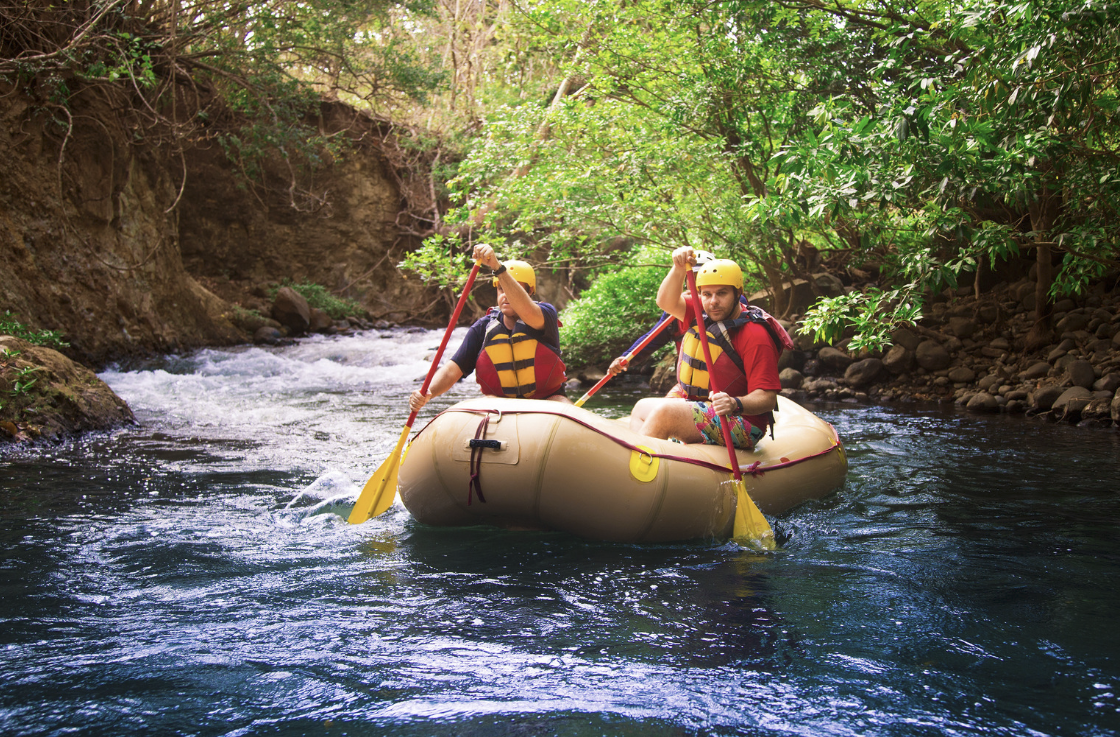
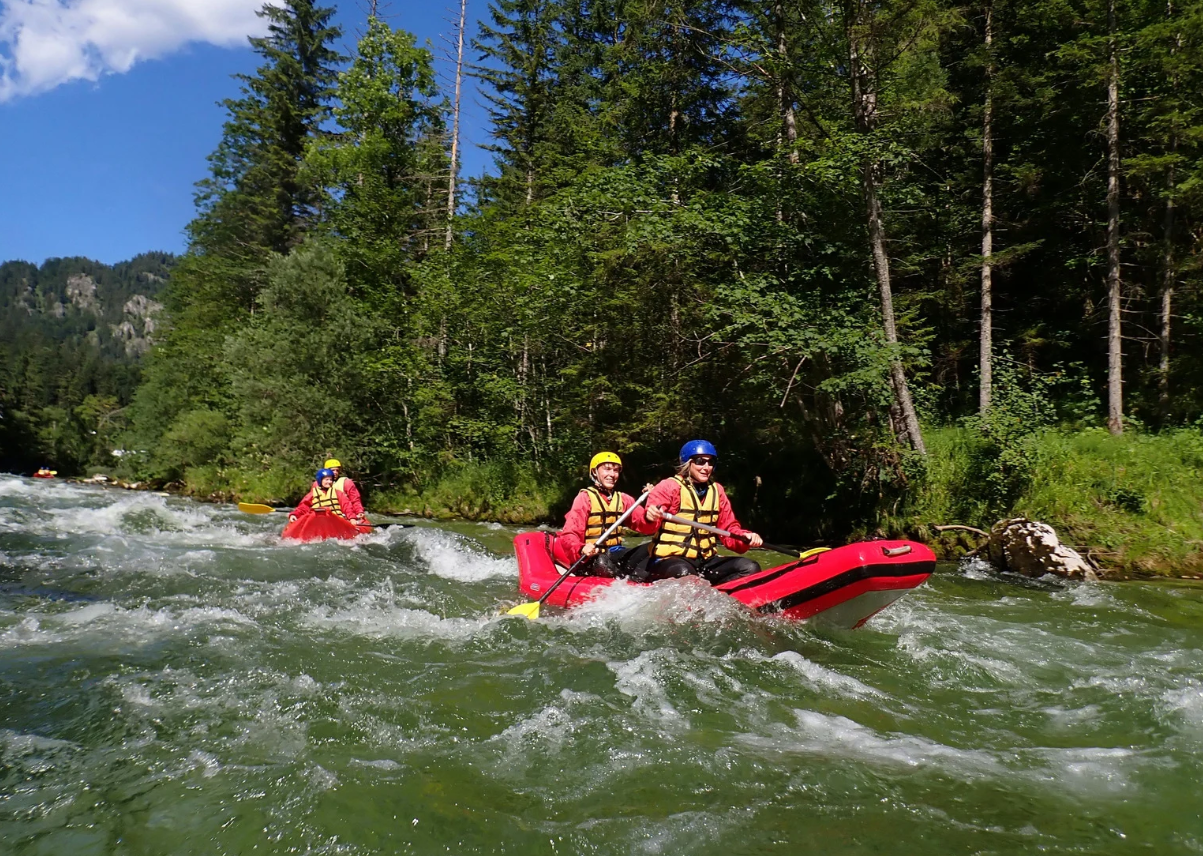
Moderate Adventure: Multi-day treks with basic camping, intermediate rock climbing, sea kayaking in open water, beginner mountaineering, surfing, horseback expeditions. These demand regular fitness (3-4 workouts weekly) and some technical skill development. Expect rustic accommodations and limited bailout options once committed.
Hard Adventure: High-altitude expeditions, extended wilderness backpacking, advanced diving, ice climbing, serious whitewater rafting. Reserve these for when you’ve built experience, fitness, and technical skills over multiple trips.
Start one level below where you think you belong. This is the most important advice in this guide. Overestimating your abilities doesn’t make you brave—it makes you a liability to yourself and potentially to rescue teams. You can always level up on your second trip.
Choose an activity that genuinely excites you, not what looks impressive on Instagram. Your motivation will carry you through the challenging preparation ahead.
Step 2: Select Your Destination (Matching Interests to Places)
Choosing your destination is where darecation dreams become real itineraries. The right location balances your adventure goals, skill level, budget, and practical constraints like time off work and visa requirements.
Start with your “why”: What draws you to adventure travel? Stunning landscapes? Wildlife encounters? Cultural immersion? Physical challenge? Your core motivation should guide your destination choice. If you’re seeking solitude and introspection, Iceland’s remote highlands deliver differently than Costa Rica’s social surf camps.


Consider these practical filters:
Travel time and trip length: For a first adventure, 7-10 days is ideal—long enough to acclimate and complete your activity without feeling rushed, short enough to avoid burnout. If you only have one week, choose destinations within 6-8 hours of travel time. Don’t waste half your vacation in airports.
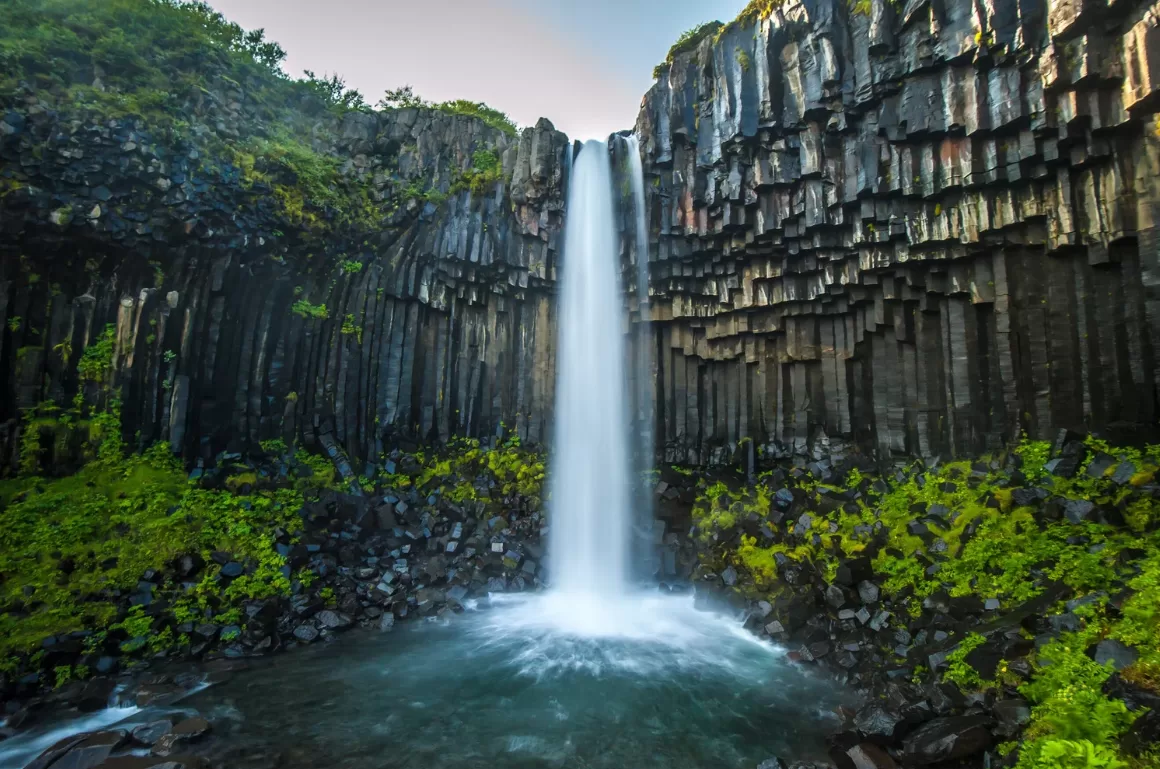
Season and weather: Research optimal travel windows. Patagonia’s dramatic weather makes November-March ideal, while monsoons render some Southeast Asian treks dangerous June-September. Your dream destination might be spectacular—or miserable—depending on when you visit.
Infrastructure and support: First-timers benefit from destinations with established adventure tourism infrastructure. Places like New Zealand, Costa Rica, and Peru offer excellent guide services, reliable equipment rental, quality medical facilities, and well-maintained trails. You can tackle more remote locations after building experience.
Language and cultural comfort: Total immersion can be overwhelming when you’re already pushing physical boundaries. Consider destinations where you speak some language or where English is commonly used in tourism. Save the linguistic deep end for when adventure travel itself feels more familiar.
Budget alignment: Some destinations deliver incredible adventure on modest budgets (Nepal, Guatemala, Albania), while others demand serious investment (Norway, Switzerland, New Zealand). Factor in not just flights and accommodations, but guide fees, permits, gear rental, and travel insurance.
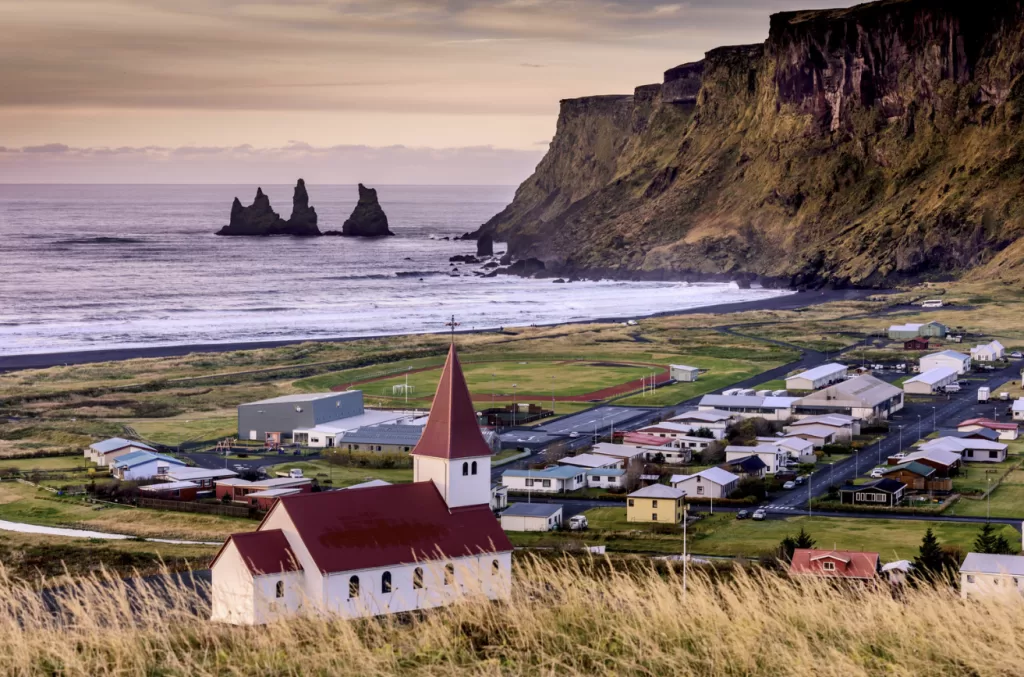
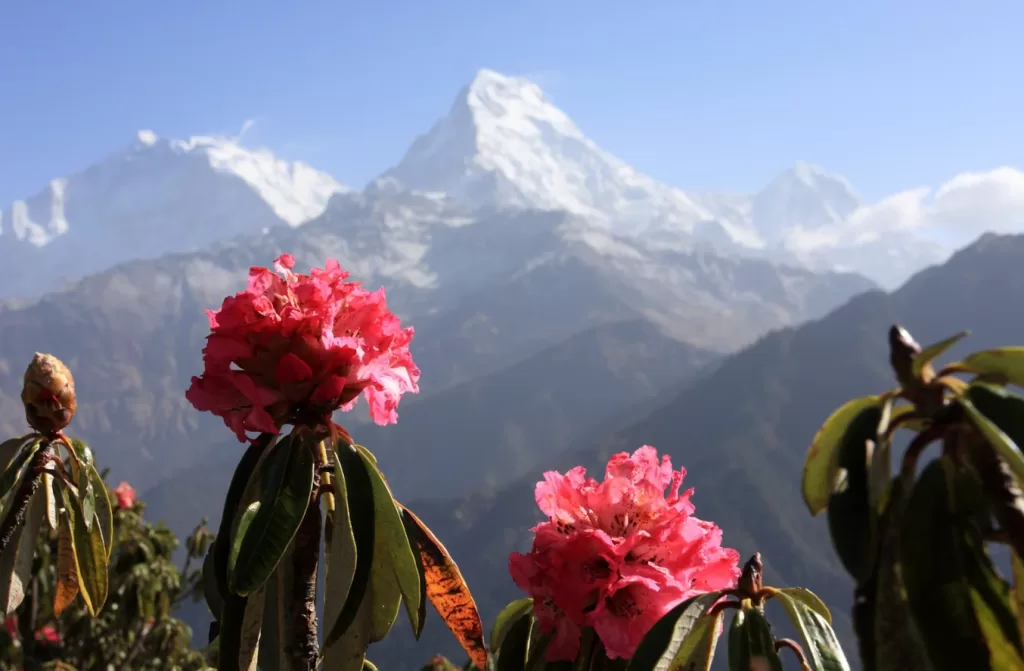
Top beginner-friendly destinations: Costa Rica (diverse activities, easy logistics), Iceland (dramatic landscapes, excellent infrastructure), Peru (iconic trails, affordable guides), Scotland (accessible highlands, English-speaking), Utah’s national parks (spectacular scenery, varied difficulty levels).
Create a shortlist of three destinations, then dig deeper into specific trip options within each location.


Step 3: Set Your Budget (Real Cost Breakdown)
Adventure travel spans from surprisingly affordable to eye-wateringly expensive. The key is building a realistic budget before you fall in love with an unaffordable itinerary.
The major cost categories:
Flights: Typically 25-40% of total budget. Book 2-3 months in advance for best rates. Use flight comparison tools and consider positioning flights to cheaper gateway cities. A New York-to-Iceland round trip might cost $350, while New York-to-Nepal could hit $1,200.
Accommodations: $20-200+ per night depending on destination and comfort level. Adventure travelers often mix hostel dorm beds ($15-30), budget hotels ($40-80), and mountain huts or camping ($10-40) to manage costs. Splurge on comfort before and after your main activity—you’ll appreciate a real shower.
Guide and activity fees: This varies wildly. A guided day hike might cost $50-150. Multi-day treks with guides, porters, and meals run $80-200 per day. Technical activities like climbing or diving require certified instruction ($200-500 for beginner courses). DIY trips eliminate guide fees but require more expertise and planning.

Gear: If you don’t own appropriate equipment, budget $300-800 for basics or $50-150 for rentals. Buy essentials (good hiking boots, weather-appropriate clothing), rent expensive items (technical climbing gear, camping equipment, specialty items).
Travel insurance: Non-negotiable for adventure travel. Budget $50-150 for trip insurance that covers adventure activities and emergency evacuation. Standard policies often exclude “risky” activities—read the fine print.
Food and incidentals: Budget $20-60 daily depending on destination. Guided trips often include meals; independent travel requires restaurant and grocery budgets.
Permits and park fees: Some adventures require expensive permits (Kilimanjaro: $1,000+, Inca Trail: $500+). Research these early—popular treks sell out months ahead.
How to plan an adventure vacation: Real-world examples
- Costa Rica week (moderate): $1,800-2,400 total
- Iceland camping road trip: $2,200-3,000 total
- Nepal Annapurna trek (teahouse): $1,400-2,000 total
- Utah national parks road trip: $1,200-1,800 total
Build a 20% contingency fund for unexpected costs. Adventures rarely go exactly as planned—buffer money reduces stress when improvisation becomes necessary.


Step 4: Physical Preparation (Training Timeline)
The difference between a transformative adventure and a miserable slog often comes down to one thing: preparation. You don’t need to be an elite athlete, but you do need to honestly prepare your body for what you’re asking it to do.
Start 8-12 weeks before departure. This gives your body time to adapt without the injury risk of cramming fitness into a few frantic weeks. If you’re currently sedentary, add 4 more weeks to build a base.

Match your training to your activity:
For hiking/trekking: Focus on cardiovascular endurance and leg strength. Walk or hike 3-4 times weekly, progressively increasing distance and elevation gain. Start with flat 30-minute walks, build to 2-3 hour hikes with a weighted pack (10-15 lbs). Include stairs, hill repeats, or inclined treadmill work. Add squats, lunges, and step-ups twice weekly. Your longest training hike should reach 75% of your trip’s biggest day.
For water sports (kayaking, rafting, snorkeling): Build core strength and shoulder endurance. Swimming, rowing machines, and bodyweight exercises (planks, push-ups, pull-ups) prepare you for paddling. If snorkeling or diving, practice breath control in a pool—many people panic their first time breathing underwater.
For cycling adventures: Obviously, ride your bike. Build from short flat rides to longer routes with hills. Aim to comfortably complete 60-70% of your trip’s daily mileage before departure. Don’t forget to break in your saddle—chafing can ruin a trip faster than tired legs.

For multi-sport or general adventure: Combine cardio (running, cycling, swimming) with functional strength training. Your body needs general resilience more than specialized performance.
The often-ignored factors:
Practice with your actual gear. Break in boots on training hikes. Sleep in your sleeping bag. Wear your backpack loaded to trip weight. Discovering your hip belt digs painfully after hour three is information you want before departure, not on a remote trail.
Train tired. Back-to-back workout days simulate multi-day trip fatigue better than well-rested peak performances.
Don’t neglect flexibility and recovery. Yoga or stretching sessions prevent injuries and improve your functional range of motion on uneven terrain.
Red flags to address: Persistent joint pain, chest discomfort during exercise, or extreme fatigue warrant medical clearance before booking. Adventure travel stresses your body—start from a foundation of health, not hope.
Step 5: Essential Gear & Packing (What You Actually Need)
Gear anxiety plagues first-time adventure travelers. You don’t need $5,000 of equipment, but you do need the right basics. Poor gear choices create misery; smart ones enable confidence.
The universal essentials (regardless of adventure type):
Footwear: This is where you splurge. Quality hiking boots or trail runners ($120-200) prevent blisters, provide ankle support, and last for years. Visit a specialty outdoor store for proper fitting—your feet swell on long hikes, so size up a half-size. Break them in over 20-30 miles before your trip.
Clothing layers: Skip cotton (it stays wet and cold). Invest in moisture-wicking base layers ($30-60), insulating mid-layers like fleece or down ($60-120), and a waterproof shell jacket ($100-200). The layering system adapts to changing conditions better than single bulky items.
Technical backpack: Day hikes need 20-30L packs ($60-100); multi-day trips require 50-65L ($150-250). Proper fit matters enormously—hip belts should sit on your pelvis, not waist. Many stores offer free fitting services.
Sun and weather protection: Quality sunglasses, sunscreen SPF 50+, hat with brim, and buff or bandana. Sun exposure at altitude or on water intensifies dramatically.
Navigation and safety: Physical map and compass (don’t rely solely on phones), headlamp with extra batteries, first aid kit, emergency whistle, fire starter. These aren’t optional.
Hydration: Water bottles or hydration bladder (2-3L capacity), plus water purification (tablets, filter, or UV pen) for backcountry trips.
What to rent vs. buy:
Rent: Expensive specialty items you’ll rarely use—technical climbing gear, camping equipment for one-trip experiments, cold-weather extremes (expedition sleeping bags, mountaineering boots), bulky items difficult to travel with.
Buy: Anything touching your skin long-term (boots, base layers, socks), items you’ll use beyond this trip, safety essentials (headlamp, first aid).
The packing mistake everyone makes: Overpacking. Every extra pound amplifies fatigue over miles. Lay out everything you think you need, then remove 20%. Can items serve double duty? Do you really need three pairs of pants?
Activity-specific additions (budget $200-400 for specialized needs): Trekking poles for knee stability on descents, dry bags for water activities, climbing harness and helmet (often provided by guides), snorkel mask if you’re particular about fit.
Many guided trips provide gear lists—follow them religiously. Guides know what conditions demand and what commonly gets forgotten.
Step 6: Book Guides vs. DIY (Decision Framework)
One of your biggest decisions is whether to book a guided trip or venture out independently. There’s no universally “right” answer—the choice depends on your experience, comfort with uncertainty, budget, and the specific activity.
When guided trips make sense:
Technical skills required: Rock climbing, mountaineering, whitewater rafting, scuba diving, and similar activities demand expertise you can’t fake. Guides provide essential safety knowledge and equipment. For first attempts at technical sports, professional instruction isn’t optional.
Remote or complex logistics: Treks in developing countries often involve permits, porter coordination, accommodation booking in villages without internet, and navigation through unmarked trails. A guide handles logistics while you focus on the experience. The Everest Base Camp trek is theoretically possible solo, but guides navigate permits, teahouse bookings, and altitude sickness management.
Safety in unfamiliar terrain: Glacier travel, avalanche zones, wildlife encounters, and politically unstable regions benefit enormously from local expertise. Guides read conditions you don’t yet recognize as dangerous.
Cultural immersion: Local guides provide context, language translation, and respectful cultural navigation. They transform foreign experiences from confusing to meaningful.
Solo travelers seeking community: Guided group trips solve the loneliness problem while splitting costs. You’ll meet like-minded adventurers and have built-in hiking partners.
Cost consideration: Guided trips cost more upfront ($1,500-5,000+ for week-long adventures) but include logistics, meals, accommodations, equipment, and expertise. DIY trips require more planning time and research but reduce cash outlay significantly.
When DIY works better:
Well-established infrastructure: US national parks, New Zealand trails, Iceland’s marked routes, and popular European hiking paths offer excellent signage, huts, and emergency services. You can navigate safely with basic map skills.
Flexible pace and itinerary: Guides follow schedules; independent travelers adjust to energy, weather, and whims. Want to spend an extra hour photographing that waterfall? DIY enables spontaneity.
Experience building: You’ll never develop wilderness skills if guides always handle navigation, camp setup, and decision-making. Progressive independence builds confidence for future adventures.
Budget constraints: If guided trips exceed your budget, carefully chosen DIY adventures still deliver transformative experiences.
The hybrid approach: Book guides for technical portions (summit day on a climb) while handling approach logistics independently. Or join guides for your first attempt, then return solo once you’ve learned the ropes.
Research guide companies thoroughly. Check certifications, read recent reviews, verify insurance coverage, and confirm what’s included. Cheap guides sometimes cut corners on safety—your life isn’t the place to bargain hunt.
Step 7: Travel Insurance & Safety (Risk Management)
Adventure travel insurance isn’t where you cut budget corners. Standard travel insurance explicitly excludes activities like hiking above certain elevations, scuba diving, skiing, and climbing. You need specialized coverage, and you need it before departure.
What adventure travel insurance must cover:
Emergency medical evacuation: This is the critical coverage. Helicopter rescues from remote locations cost $10,000-100,000+. If you’re injured on a mountain, in a jungle, or at sea, evacuation insurance literally saves lives and financial ruin. Verify coverage limits exceed $100,000.
Adventure activity inclusion: Read fine print carefully. Policies vary wildly on what’s covered. “Trekking” might be covered to 4,000 meters but excluded above. Rock climbing might be covered in gyms but not outdoors. Diving beyond certain depths often requires supplemental coverage. List your specific activities when purchasing—surprises during claims cost you everything.
Medical treatment abroad: Your domestic health insurance likely doesn’t cover international incidents. Budget $50,000+ medical coverage minimum. Verify the policy pays providers directly rather than requiring you to pay upfront and seek reimbursement.
Trip cancellation and interruption: If you injure yourself training, or family emergencies force cancellation, this coverage recovers non-refundable expenses. With adventure trips often requiring deposits months ahead, this protection matters.
Gear and equipment: Covers lost, stolen, or damaged equipment. Less critical than medical coverage, but helpful if you’ve invested heavily in gear.
Recommended providers: World Nomads and SafetyWing specialize in adventure travel and offer straightforward policies starting around $50-80 for week-long trips. Compare coverage specifics rather than just prices.
Beyond insurance—practical safety measures:
Share your itinerary: Leave detailed plans with someone at home including routes, accommodation names, guide contact info, and expected check-in times. Establish communication protocols for areas without cell service.
Research local emergency services: Know how to contact help in your destination. Save emergency numbers in your phone. Understand whether you can dial standard emergency numbers (911, 112) or need local equivalents.
Register with your embassy: Many countries offer traveler registration programs that help locate citizens during emergencies. Takes five minutes and could prove invaluable.
Pack a comprehensive first aid kit: Include blister treatment (essential for hikers), pain relievers, anti-diarrheal medication, antihistamines, antibiotic ointment, and any personal prescriptions with extra days’ supply. Altitude sickness medication if going above 8,000 feet.
Trust your gut: If weather turns dangerous, guides seem incompetent, or equipment appears unsafe, speak up or walk away. Summit fever kills—knowing when to turn back demonstrates wisdom, not weakness.
Step 8: Pre-Trip Checklist (Two Weeks Before Departure)
The final two weeks separate smooth departures from chaotic scrambles. Work through this systematically rather than panicking the night before your flight.
Two weeks out: Confirm all bookings (flights, accommodations, guides, permits). Verify passport validity (most countries require 6+ months remaining). Check visa requirements and apply if needed. Start any required medications (malaria prophylaxis, altitude sickness prevention). Break in new gear on training hikes. Create packing list and gather items.
One week out: Check weather forecasts and adjust clothing accordingly. Photocopy passport, insurance cards, and important documents—store digital copies in cloud storage and leave physical copies with emergency contact. Notify bank and credit card companies of travel dates to avoid fraud blocks. Download offline maps for your destination. Pack first aid kit and verify nothing’s expired.
48 hours before: Complete final gear check against packing list. Charge all electronics and pack backup batteries. Arrange pet care, plant watering, mail holds. Stop newspaper delivery. Set home security (timers on lights, alarm system). Confirm transportation to airport.
Day before: Final weather check. Pack carry-on with essentials (medications, one change of clothes, valuables, critical documents). Prepare easy meals so you’re not cooking the morning of departure. Get good sleep—exhaustion before adventure invites injury.
Departure day: Wear comfortable layers for travel. Keep snacks and water bottle accessible. Arrive at airport 3 hours early for international flights. Stay hydrated during flight to minimize jet lag. Your adventure begins the moment you leave home—embrace the anticipation.
Common First-Timer Mistakes to Avoid
Learn from others’ expensive lessons rather than making them yourself.
Training too little, too late: The most common mistake. You can’t cram fitness into the final two weeks. Your body needs progressive adaptation. Start your 8-12 week program or accept that your trip will be harder than necessary.
Ignoring blisters until they’re debilitating: Address hot spots immediately with moleskin or blister bandages. The “push through it” mentality transforms minor irritation into trip-ending injuries. Experienced adventurers stop at the first hint of rubbing.
Overpacking “just in case” items: Every unnecessary pound compounds over miles. Trust your packing list. You won’t need five pairs of pants for a week-long trek. Most destinations have stores if you desperately need something.
Underestimating weather variability: Mountain weather changes rapidly. Sunny valleys don’t predict summit conditions. Always pack rain gear and warm layers regardless of forecast. “It was sunny when we started” appears in too many rescue reports.
Skipping travel insurance to save $80: Then facing $50,000 helicopter evacuation bills. This is false economy at its most dangerous.
Pushing beyond ability to prove something: Summit fever, peer pressure, or ego make people ignore warning signs (exhaustion, altitude sickness, dangerous conditions). Turning back demonstrates wisdom. Mountains and trails will be there next year; you need to be alive to return.
Not testing gear before departure: Discovering your water filter doesn’t work or your boots cause blisters on day three of a backcountry trek creates preventable misery.
Inadequate hydration and nutrition: Beginners forget to eat and drink during activity, then wonder why they bonk. Snack every hour, drink before you’re thirsty. Your body needs fuel to perform.
Comparing yourself to others: Every adventurer started somewhere. Focus on your own experience, not keeping pace with the strongest hiker. This isn’t a competition—it’s your personal journey.
Final Thoughts
Your first darecation will be imperfect. You’ll make small mistakes, feel overwhelmed at moments, and question your decisions. That’s normal. What matters is finishing safely with stories to tell and confidence to plan your next adventure. Start planning today—your future self will thank you for taking that first brave step.